iOS 17.2: How to Use Apple's New Journal AppApple introduced its long-awaited Journal app for iPhone in iOS 17.2. Here is everything you need to know about using Journal.
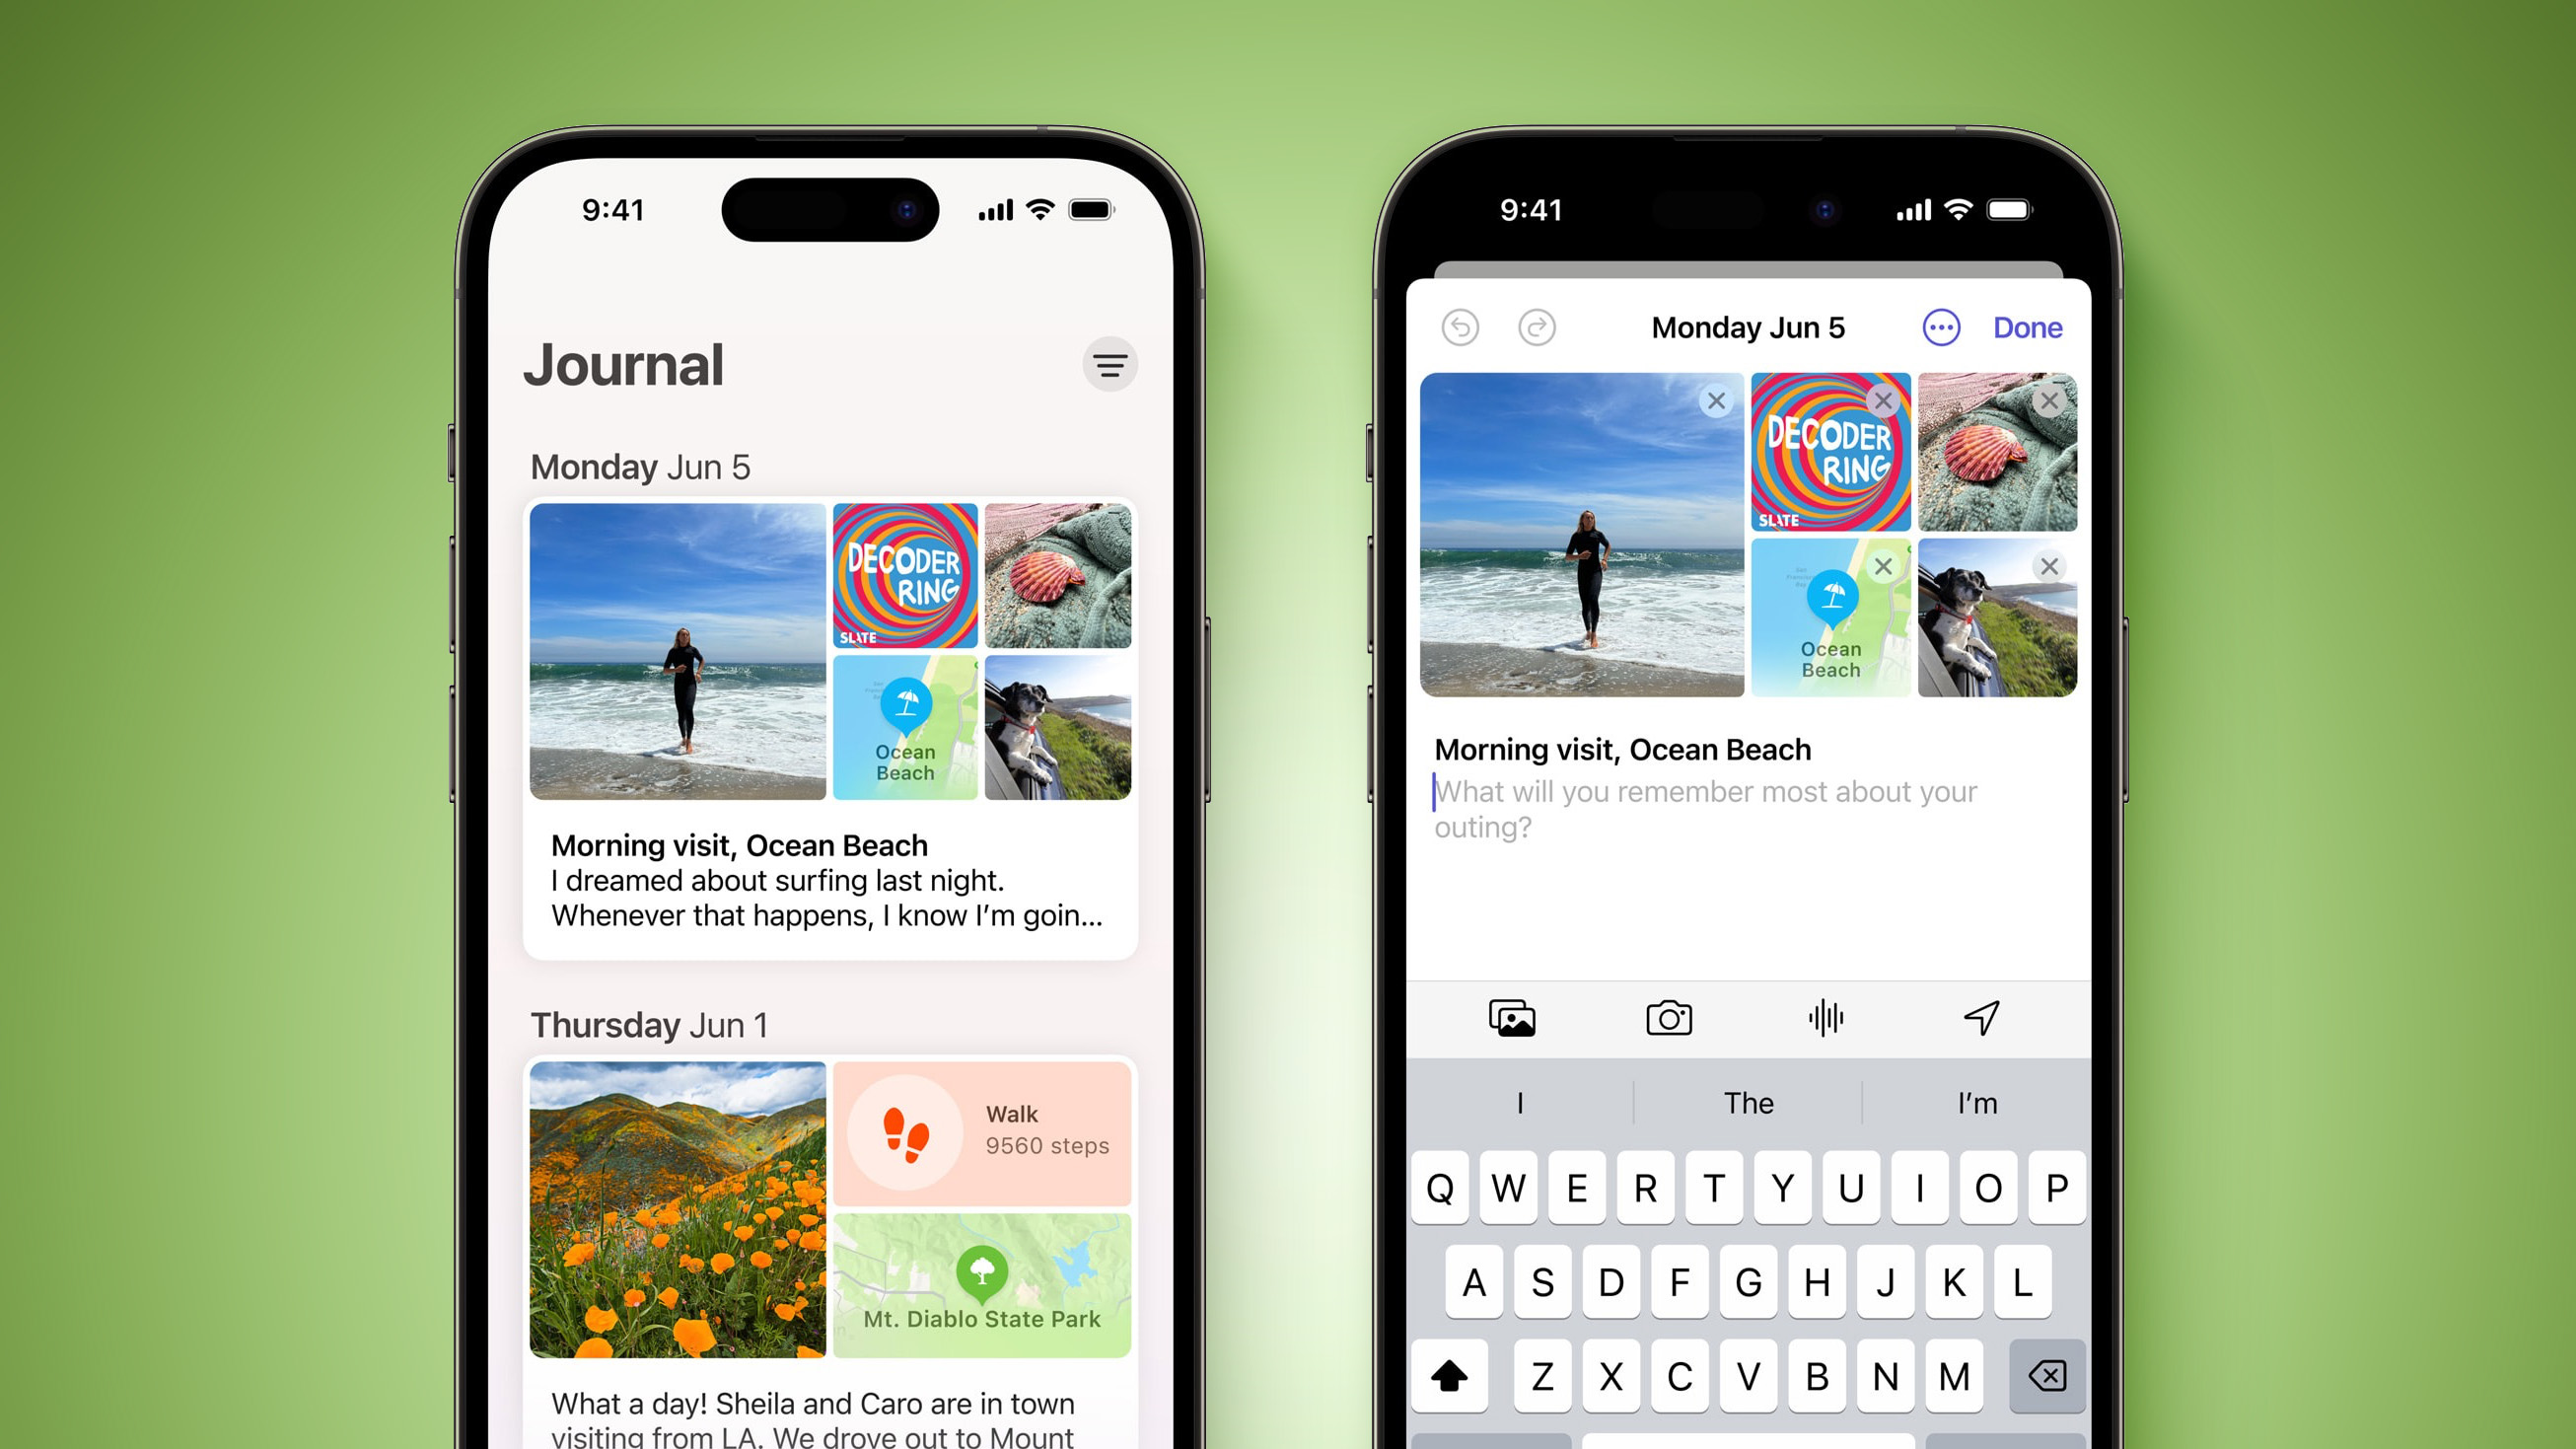
Apple in June 2023 announced it was bringing its own journaling app to iOS 17, and it is finally here as part of Apple's December software update, iOS 17.2.
Apple's Journal app lets you record your daily thoughts and activities, incorporating data like photos, music listened to, workouts, and more, plus it suggests topics to write about.
<h2>Creating Your First Journal Entry</h2>
The Journal app has a simple, straightforward interface. When you open it up, you're presented with a "+" button, and tapping on it lets you start a new entry. When you have added a few entries, the button at the top-right lets you filter them based on photos and activities.
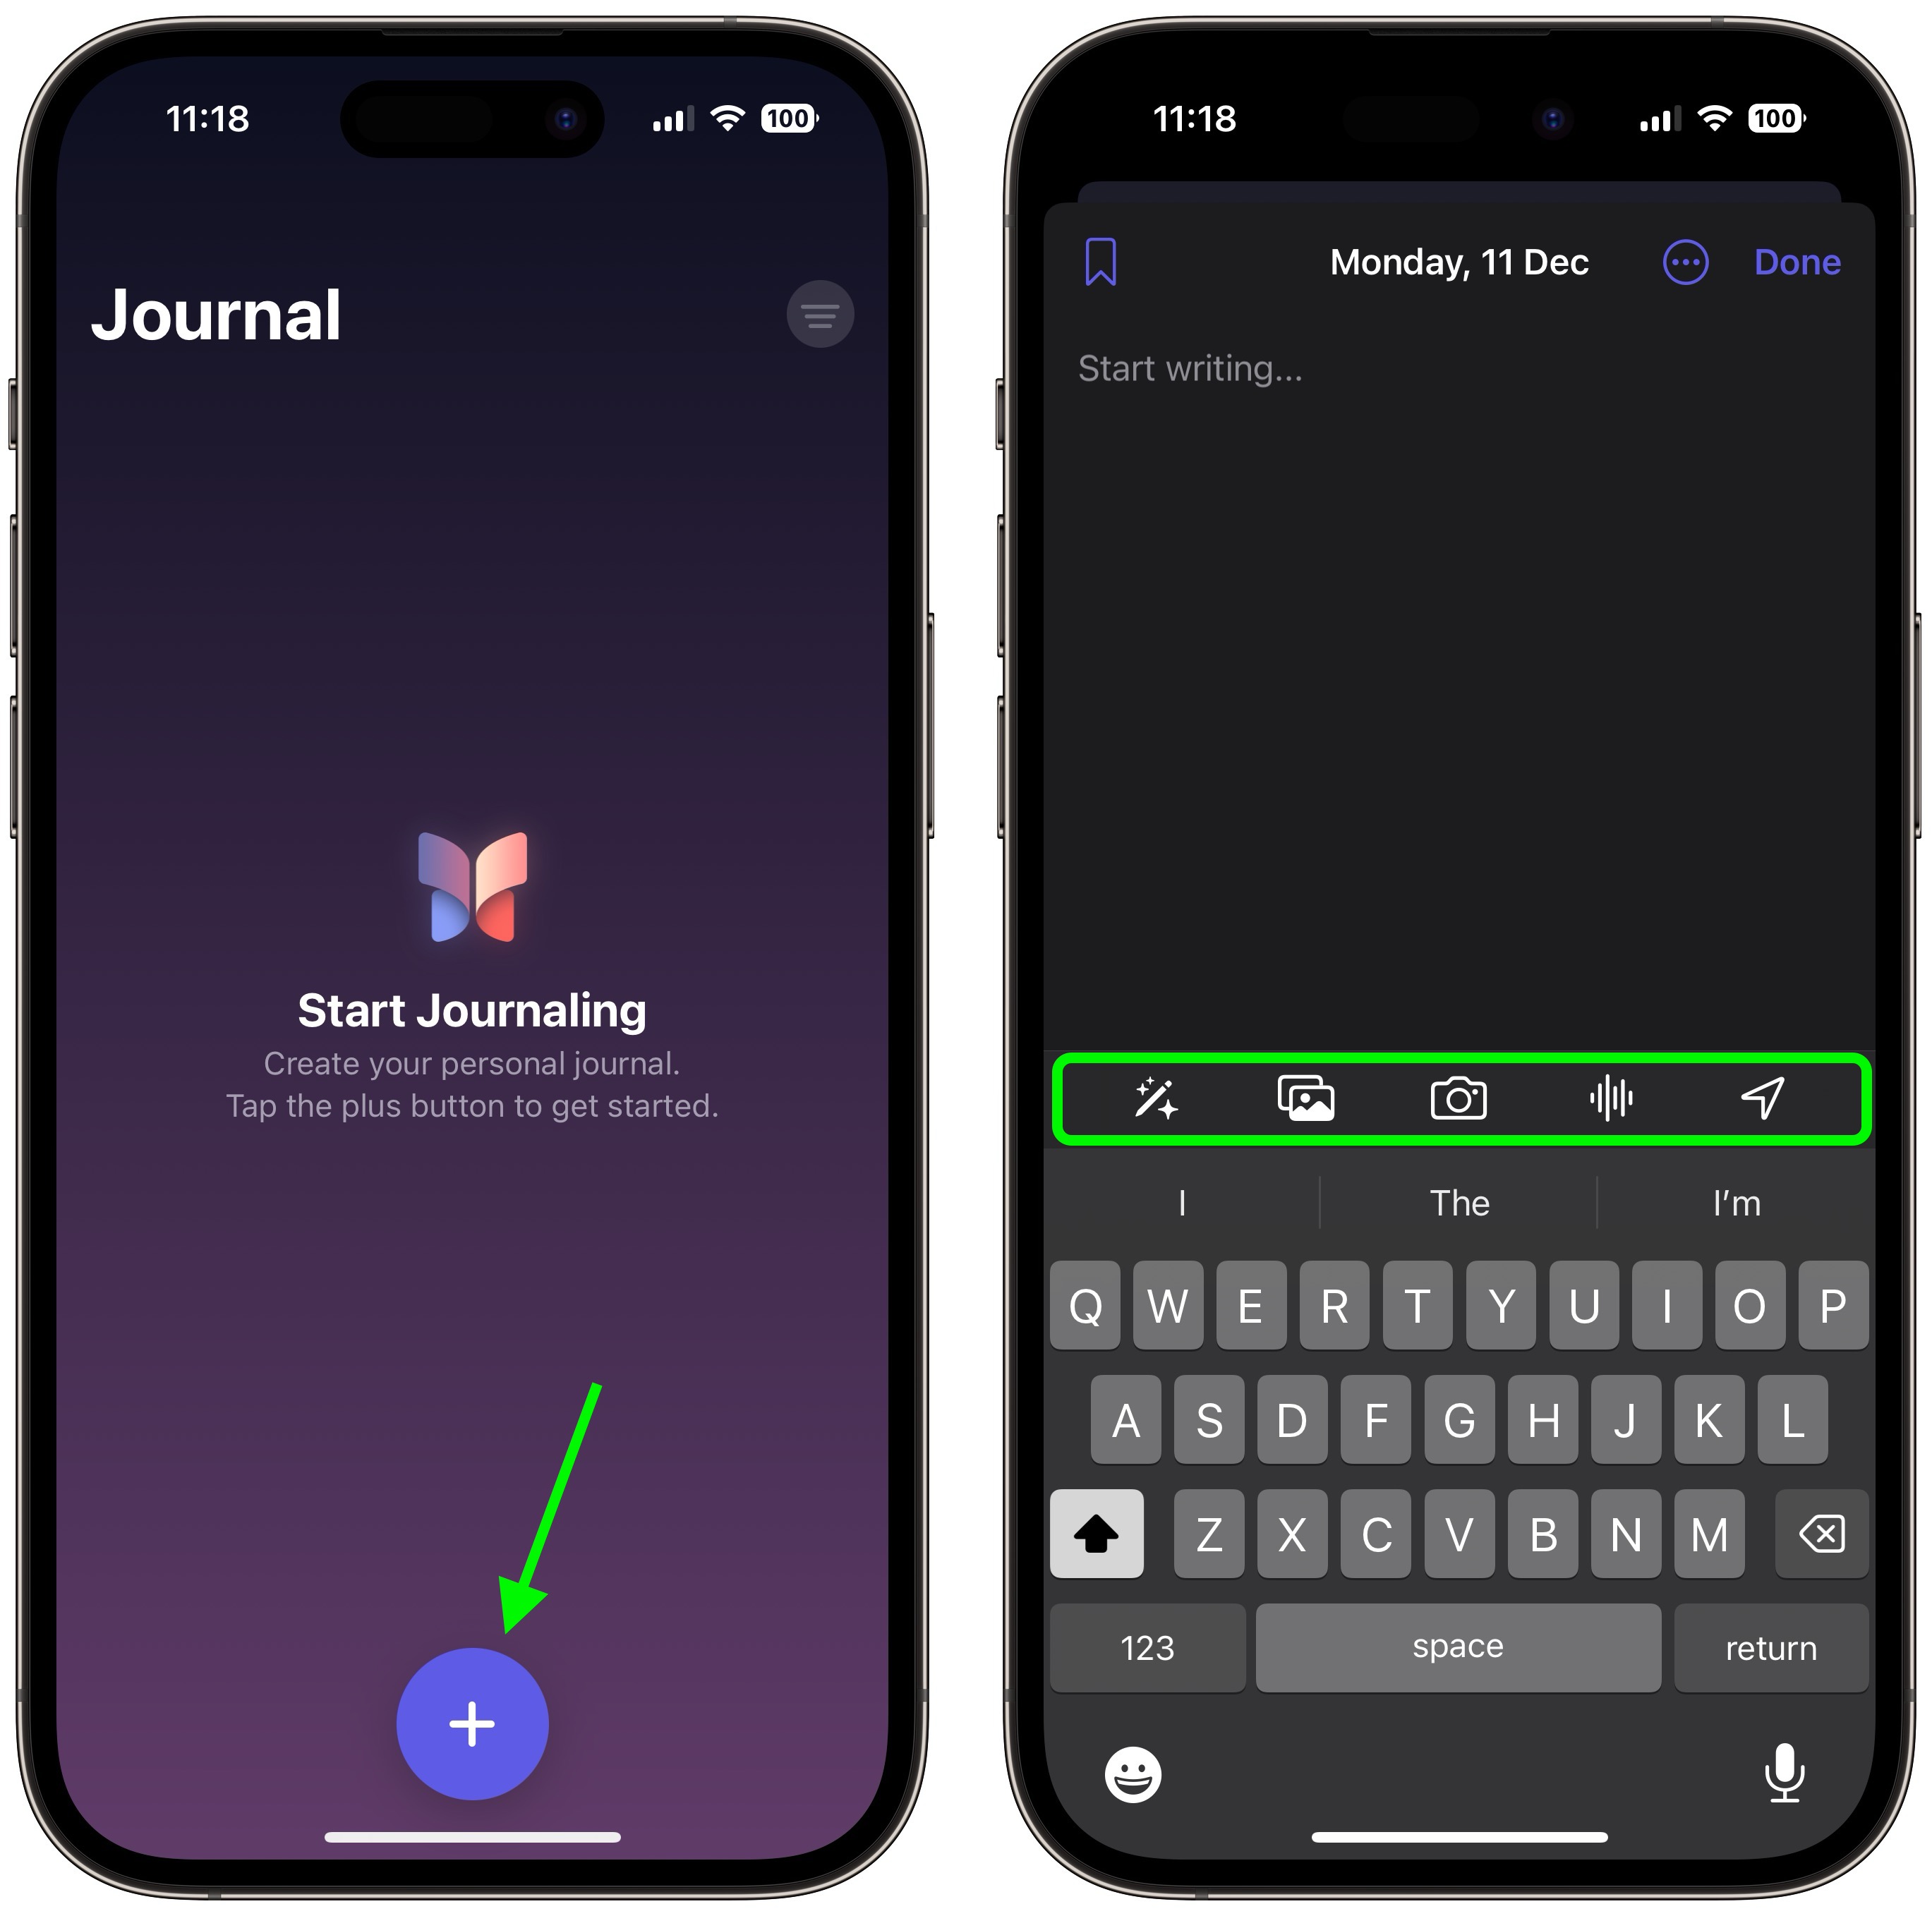
The writing interface includes several buttons along the top of the keyboard that you can use to access the aforementioned "moments," as well as add photos, take pictures, add voice recordings, and add location tags, respectively. Before you can use them, you will be prompted to allow the app to access your pictures, camera, microphone, and location. Journal entries are automatically dated, and you can bookmark your favorite ones.
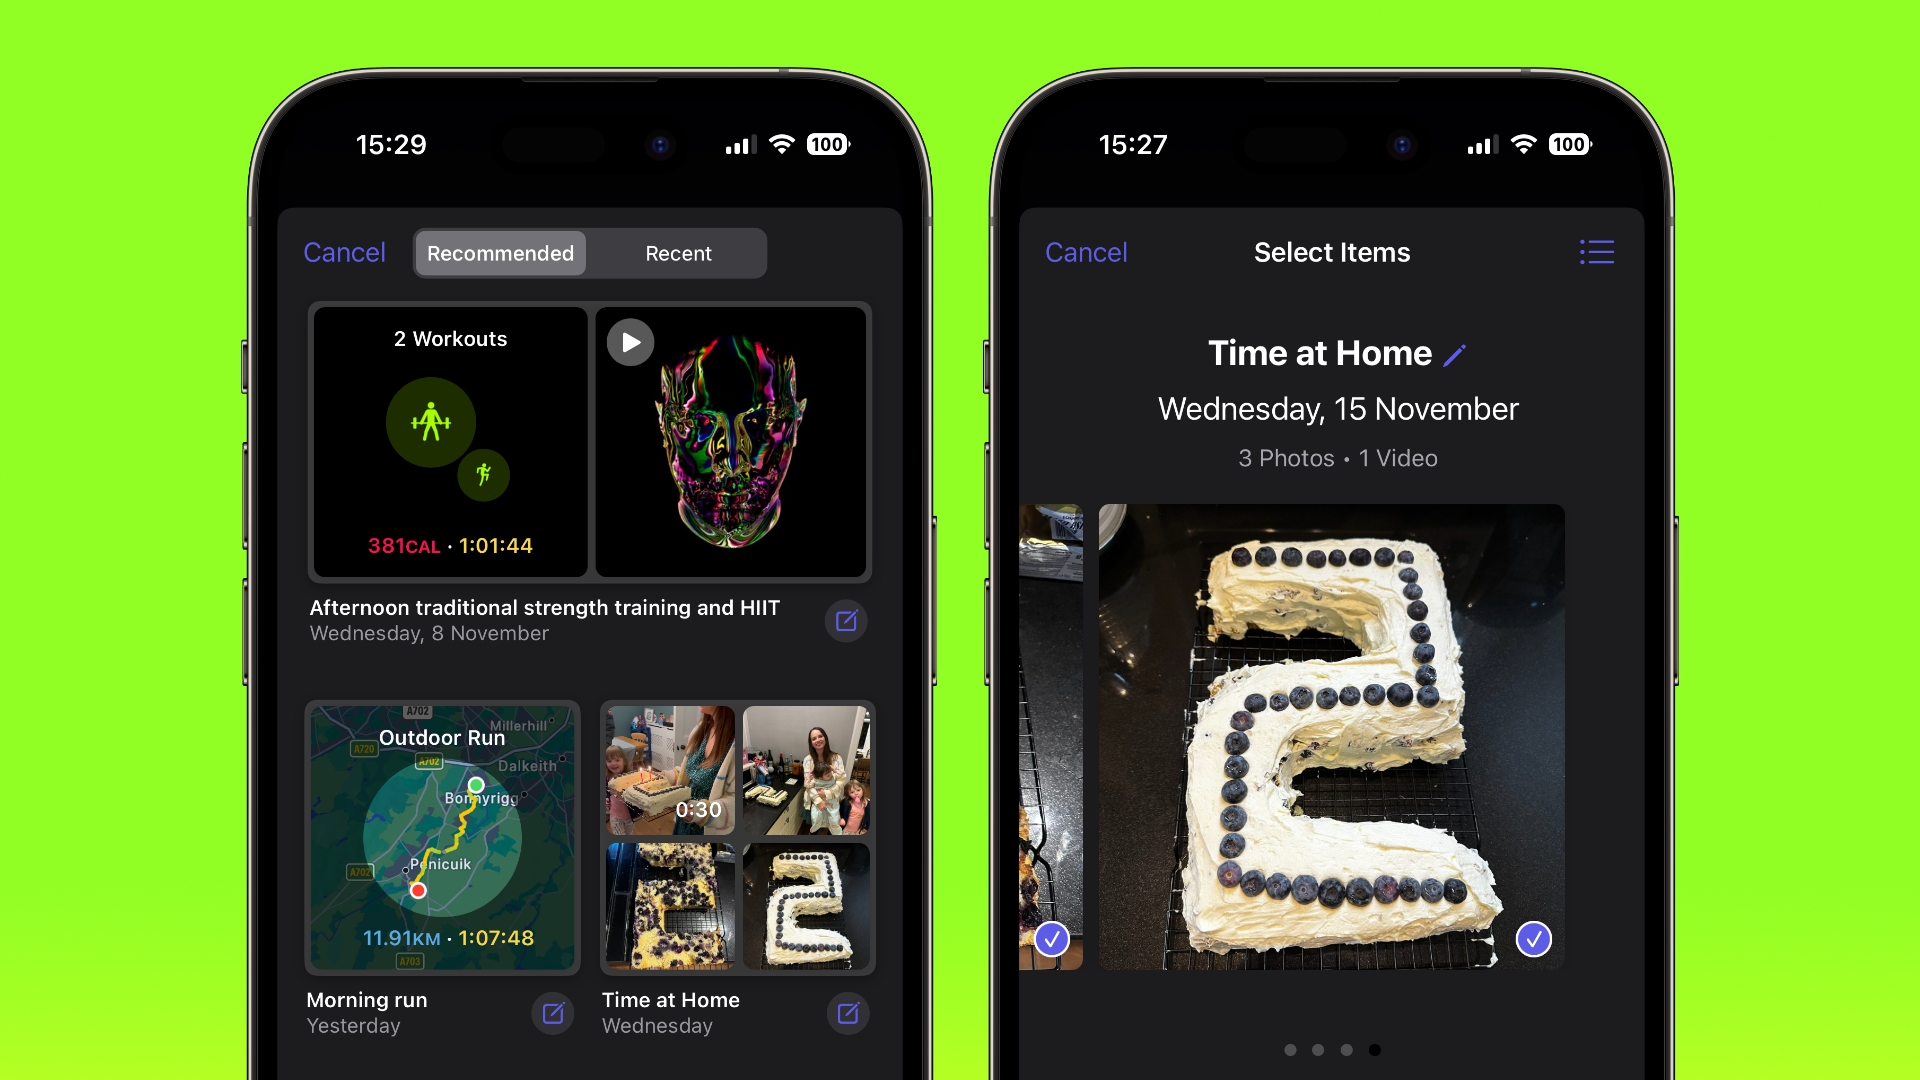
By default, the Journal app will suggest recent and recommended "moments" from your week that include photos, workouts, or places you visited, and you can use these as writing prompts or you can tap New Entry and start writing. (To write new entries without viewing suggestions first toggle on the switch in Settings ➝ Journal ➝ Skip Journaling Suggestions.)
<h2>Using Journaling Reflections</h2>
If you have a serious case of writer's block, the Journal app can offer you entry prompts in the form of "reflections." When starting a new entry, these reflections appear in between your recommended and recent "moments," are designed to inspire and guide you, providing ideas and topics to explore in each entry.
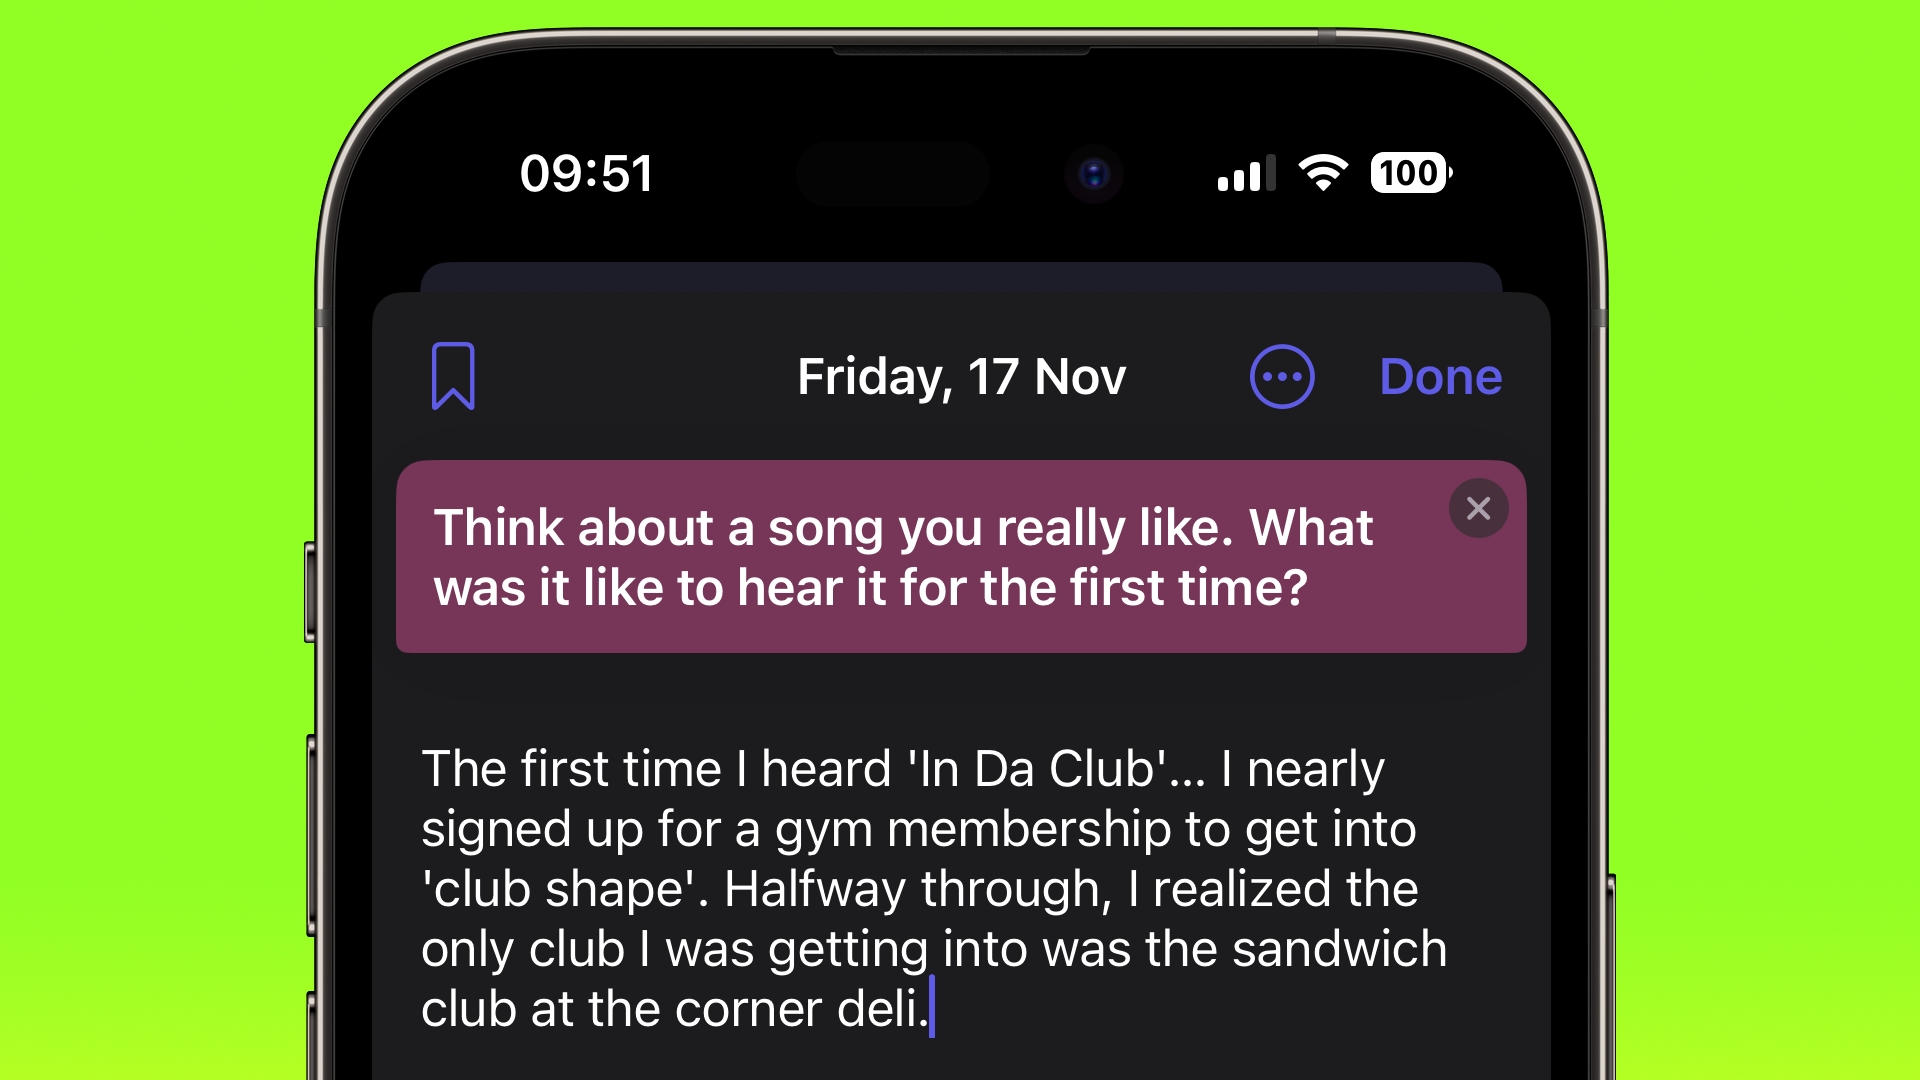
The reflections can vary from thought-provoking questions to creative writing cues, and if the one you're offered doesn't get your gears turning, you can generate a new one by tapping the two arrows that form a circle.
<h2>Setting a Journaling Schedule</h2>
Staying consistent with journaling can be difficult, but your iPhone can make it a lot easier with the new Journal app's scheduling feature. Here's how to set it up.
<ol><li>Open the Settings app on your iPhone.</li>
<li>Scroll down and tap Journal.</li>
<li>Tap Journaling Schedule, then toggle on the switch next to Schedule.</li>
<li>Choose the days of the week that you want to be reminded to write, and select a time of day to receive the prompt.</li></ol>
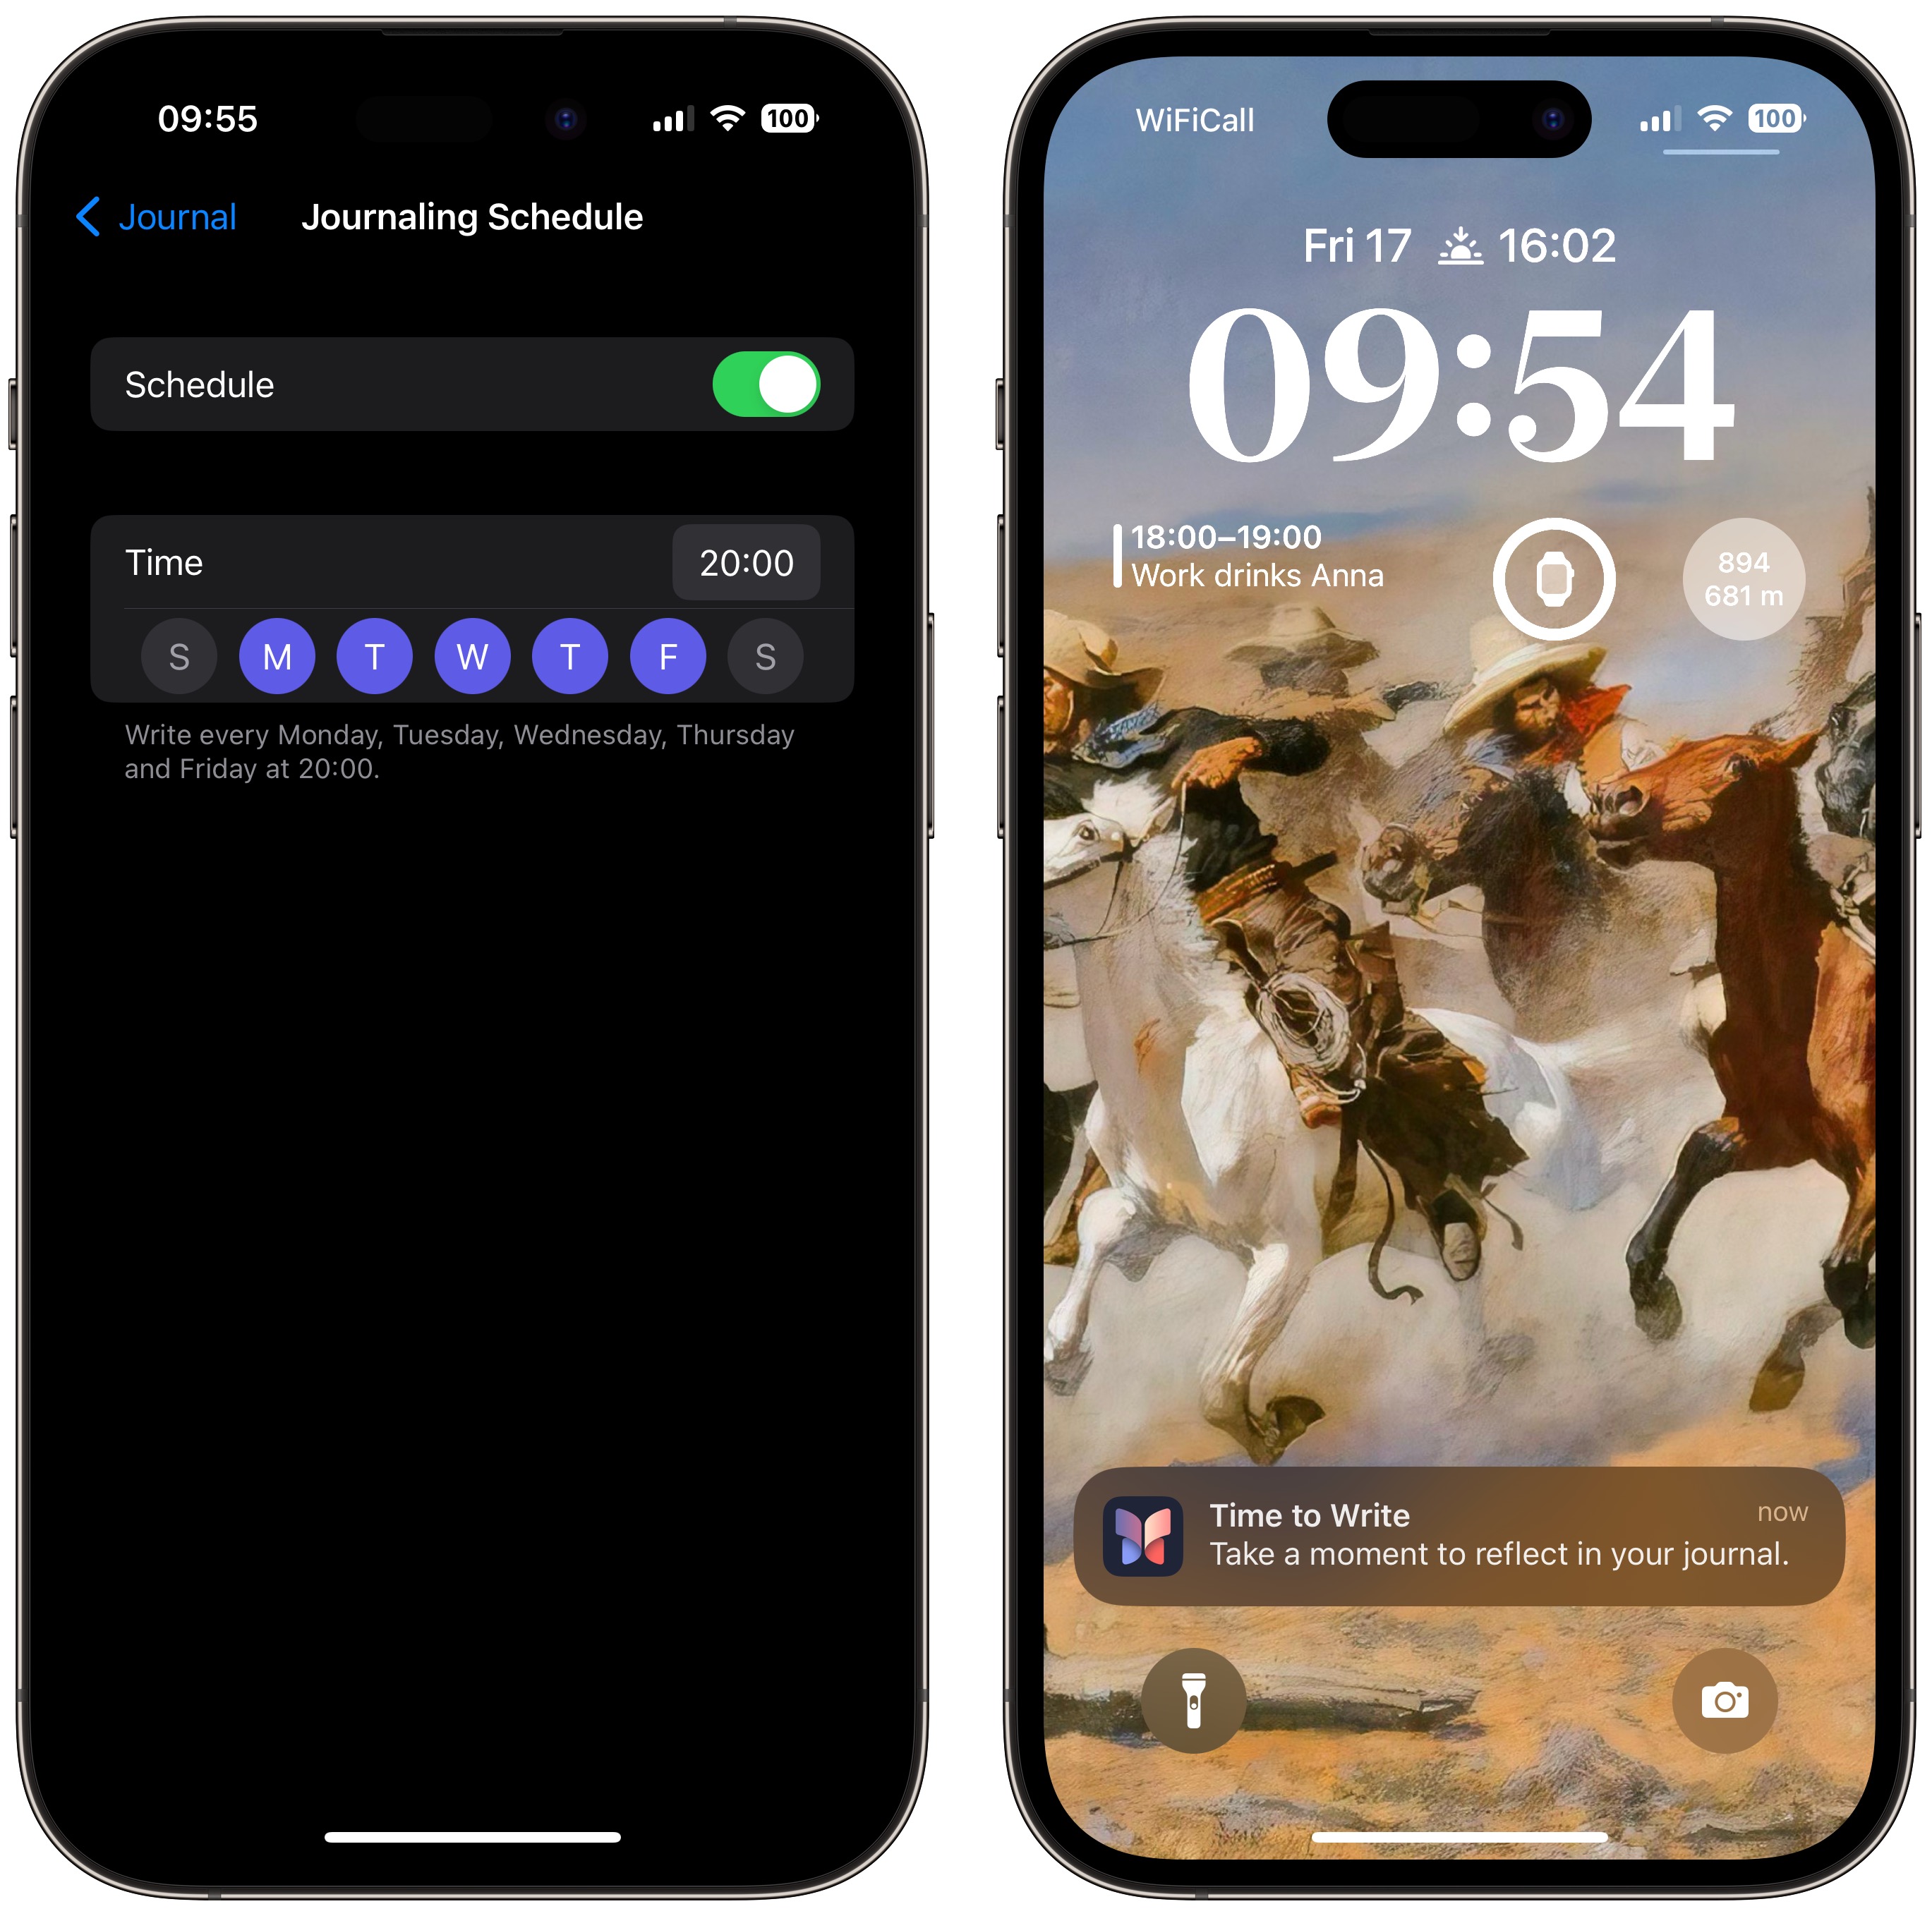
The scheduling option isn't just a reminder – it's about building a habit. So whether it's a gentle reminder notification that you need in the morning or a prompt before bed, you can adapt the feature to your personal routine.
<h2>Lock Your Journal</h2>
Privacy and security are paramount when it comes to personal journaling. That's why Apple's Journal app introduces enhanced security features, including encryption and password protection, to safeguard your journal from unauthorized access.
To lock your journal using your device's passcode, Face ID, or Touch ID, follow these steps.
<ol><li>Open the Settings app on your iPhone.</li>
<li>Scroll down and tap Journal.</li>
<li>Tap Lock Journal and enter your passcode when prompted.</li>
<li>Toggle on the switch next to Lock.</li>
<li>Tap Require Passcode, then select from the options: Immediately, After 1 minute, After 5 minutes, After 15 minutes.</li></ol>
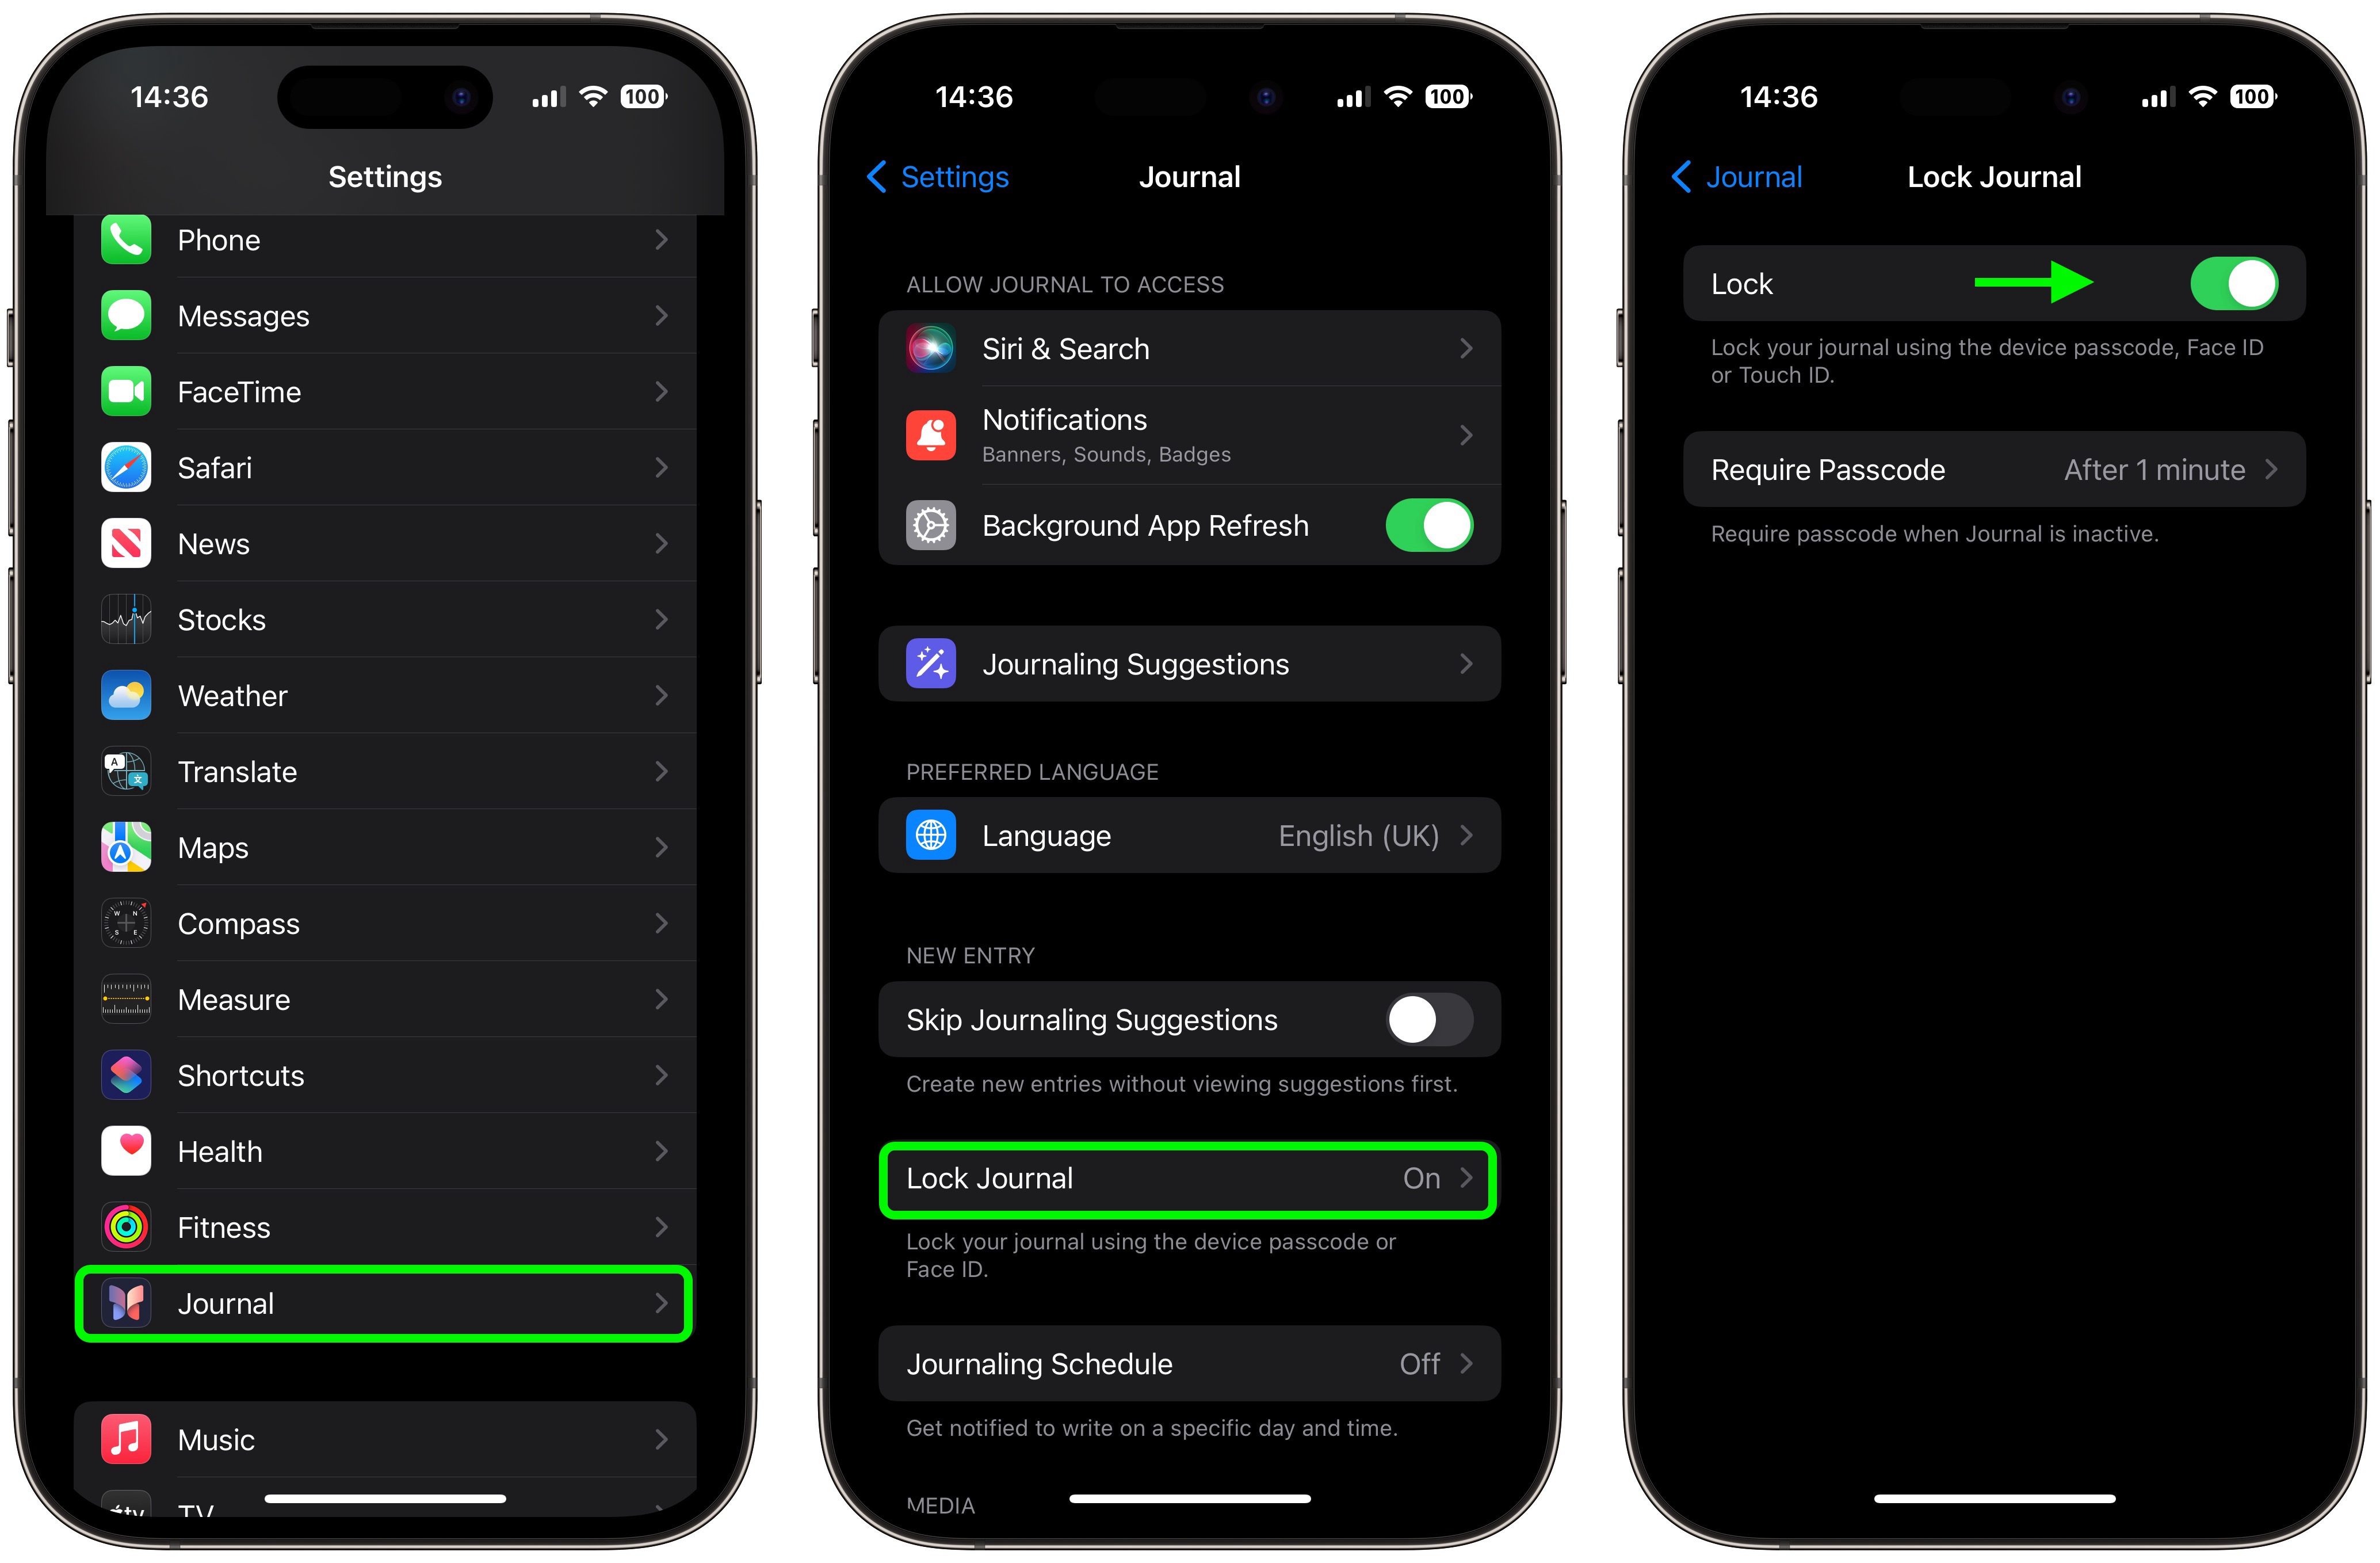
That's all there is to it. Your journal is now inaccessible without entering your device passcode, or using Face ID or Touch ID, providing you with peace of mind every time you record sensitive or personal information.
This article, "
iOS 17.2: How to Use Apple's New Journal App" first appeared on
MacRumors.comDiscuss this article in our forums
Source:
iOS 17.2: How to Use Apple's New Journal App